Those checkers always look so
neat but are a pain to apply or paint right? This page will cover how to
apply checker board patterns to your airplane either with iron on covering or
paint.
Food For Thought It
is always time well spent to design your paint scheme on paper before committing
the plane to masking tape, paint or covering. Most people have a certain amount of time in
their day to devote to day dreaming about different paint schemes (I do).
Even if you aren't a graphic artist you should know what looks good to you and
what doesn't. Borrow some paint jobs from other airplanes that you like
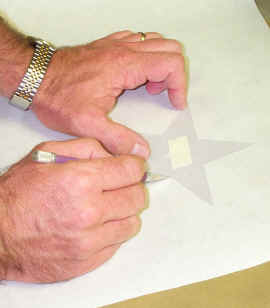
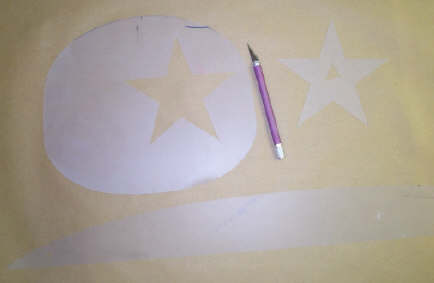
and tweak it until you have something original. If possible draw a three view of
the plane and color it with colored pencils to get a rough idea of how the
scheme will look. There have been articles written on different patterns and
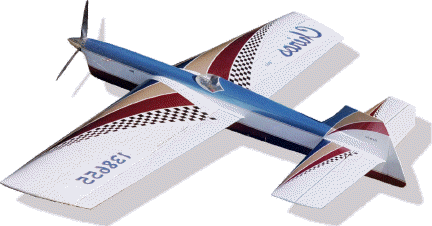
colors on airplanes and how they appear in the air. A good compromise are
large areas for visibility and small details that do not clutter the overall
scheme that can be seen from the ground. Some paint jobs look like
killers on the ground but when airborne they blend together like a big
glob. White and yellow are the two most visible colors at a
distance. Large areas of these colors help make the other trim colors
stand out. The R/C pattern people have utilized paint trim geometry and
colors to offer a visible airborne plane. ARF planes have their place in the hobby
but it will become pretty boring if all of the planes in the pits are covered
with the same design. Control line aerobatics have a concourse award that is voted on by
their fellow pilots and are appearance judged for points that are added to their
flight score. This creates a field of better looking airplanes and originality.
So jump in there and come out to the field with an original paint scheme or
covering job.
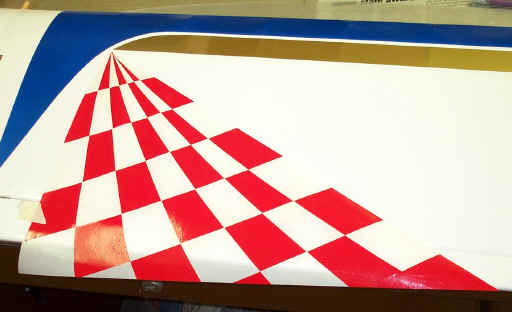
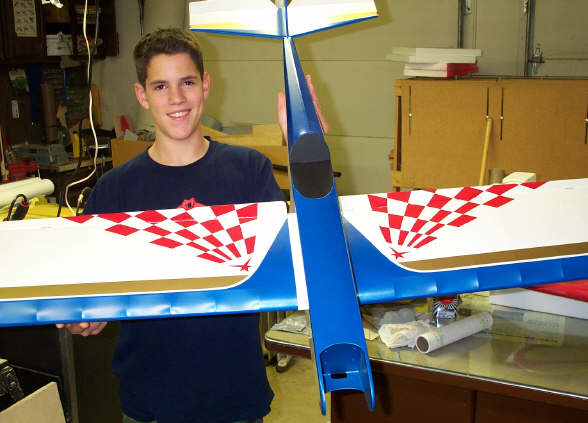
The painted
checkerboard. Traditionally the painted checkerboard has been laid out
one check at a time. With this method designing a pattern of checkers that
were anything but square was too time consuming to pursue, at least for
me. Even the square patterns were time consuming. The larger the
pattern the easier it was to lay out but when you wanted small checkers that
were bent or irregular it became almost impossible to get them to look
right. Some of the techniques I will outline here in the paint section
will be the same for the film covering section.
For masking checkers I use a
product called Friskit Film. This film is designed for masking and is semi
transparent and is easily cut with a sharp X-Acto #11 blade. Friskit film can be
cut on the model if the surface is solid (sheeted without open bays). The Chiros stunt plane I
painted had the Friskit Film for the checkers cut on the airplane. The See Temp
was used as a edge to guide the knife. This took a
light touch on the trusty #11 blade but is easy once you get the hang of it. The Friskit really
doesn't need to be cut to separate but just scored. I am not sure if there
are vinyl cutters that will cut Friskit since I have never seen Friskit with the
indexed holes on the edge for the cutters but it would be nice to have the
computer controlled cutters do the job of cutting. Maybe taping the
Friskit to the vinyl and running the vinyl through the cutter would work.
If transferring the design from print then the Friskit material can be placed
over the print and back lit. When doing the Citabria "N" numbers I
used a glass toped end table with the lamp placed underneath for back
lighting. A window on a sunny day would work just as well. It also
helps to use a transparent drafting triangle so you can see where the lines are
when cutting the Friskit Film. If the
Friskit is not cut on the airplane then bridges of masking tape will have to be
applied to the Friskit stencil to hold it together while applying it to the
model. When applying the Friskit to the model it is beneficial to peel the
backing away from one corner of the stencil and adhere only that portion until
you are satisfied with the alignment. If the alignment is correct then the
backing can be slowly peeled away from the stencil.
http://www.seetemp.com/
Click here to view the See Temp web Site.
See Temp is used as a straight
edge while cutting the Friskit stencil. See Temp material is used to make
templates off of plans for formers, ribs, etc and works great for a templates to
mask against or for cutting trim. This material is also transparent so that you
can see the part you are duplicating.